Special Note: This article is part of an intentional home series by Davonne Parks, author of Chaos to Clutter-Free. To view the rest of the articles in this series, go here.
![]()
Recipes help link people together, drawing us closer to our roots. They bridge a gap between generations past and generations to come. The food tells a story.
But, what happens when we can’t find that story? What should we do when the recipes are lost and we desperately wish to locate them so we can prepare a meal? The answer is simpler than you might think – we get proactive, and we organize the recipes before we actually need them.
Today I want to help you organize your recipes – your food memories – into a binder, and the system I’m sharing with you is the exact system I’ve used in my own kitchen for years. Plus, in addition to only taking an hour from start to finish, this recipe binder system is also very easy to maintain long-term!
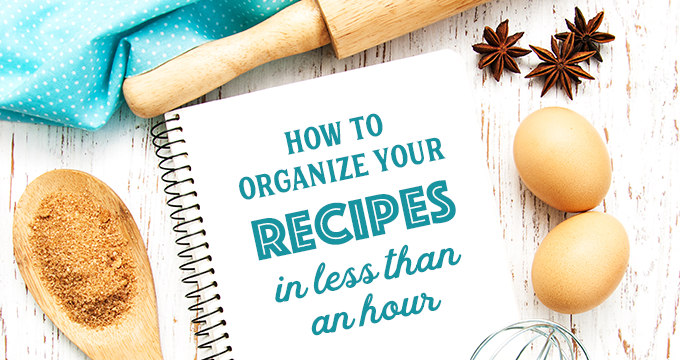
How to Organize Your Recipes in Less Than One Hour
1) Gather your supplies.
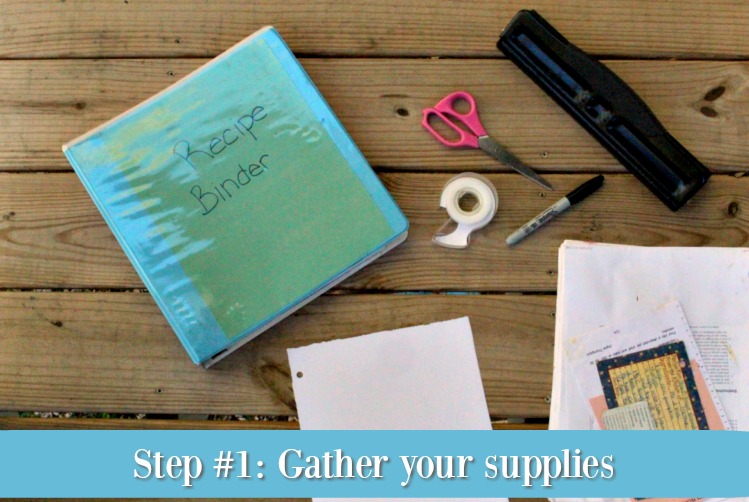
- Recipes
- Recipe binder (any three-ring binder would work)
- Pen or sharpie
- Three hole puncher or a large package of sheet protectors
- Tabbed binder dividers or heavy paper (I used 12 x 12 heavy paper and cut it to fit)
- Scissors
- Tape
2) Place all of your loose-leave recipes into one pile.
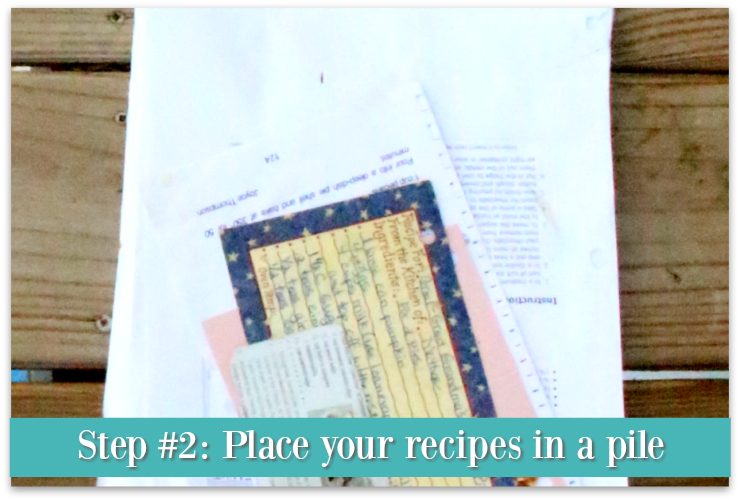
This includes printed recipes, hand-written recipes, and any recipes that have been cut from a packaged food item (ex: cereal box or cookie package).
3) Pile the recipes into the categories you want to create.
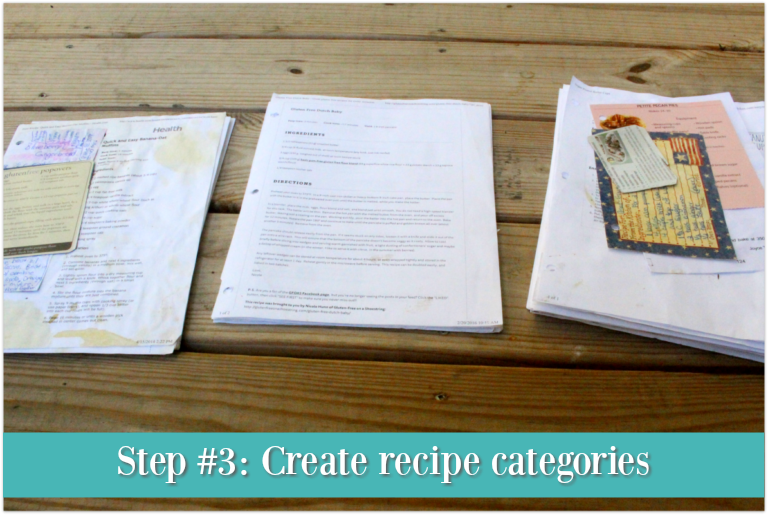
Your categories might need to be different than mine, but to help get you started, here are the categories I created for my binder:
- Breakfast
- Breads/Muffins
- Main Dishes/Side Dishes
- Beverages
- Desserts
- Apple/Canning Recipes
- Recipes to Convert (family recipes we love that aren’t allergen friendly)
- Non-Edible Recipes (homemade lip gloss, body scrub, play dough, etc.)
4) As you organize, quickly throw away unneeded recipes.
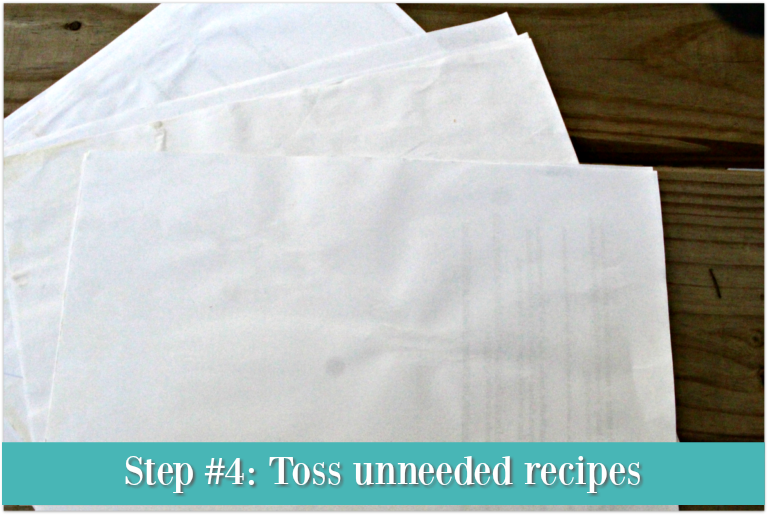
This includes any recipes your family has tried and didn’t really like, recipes you printed but are no longer very interested in making, and any duplicate recipes that you’ve accidentally printed or copied more than once.
5) Condense recipe pages.
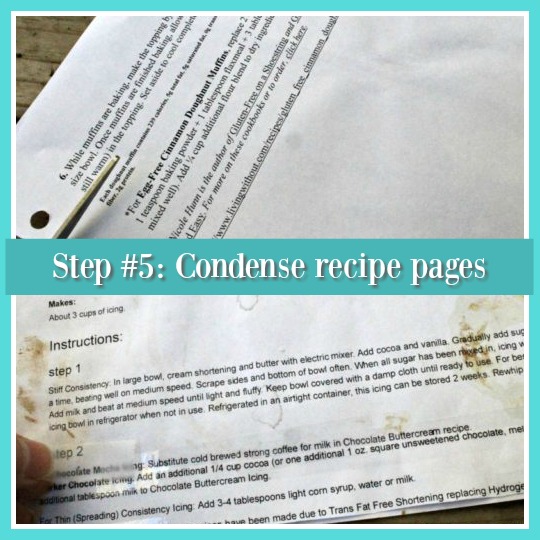
{Mmmm, the Wilton Chocolate Buttercream in the bottom photo is so amazing! And those GF donuts in the top photo were a huge hit on my daughter’s 5th birthday!}
Get your recipes onto as few pages as possible. For example, if you printed a recipe that takes up 1 page, plus 3 lines on a second sheet of paper, simply cut out those 3 lines from the second page and tape or glue them to the bottom of the first page.
6) Add your smaller recipe cards.
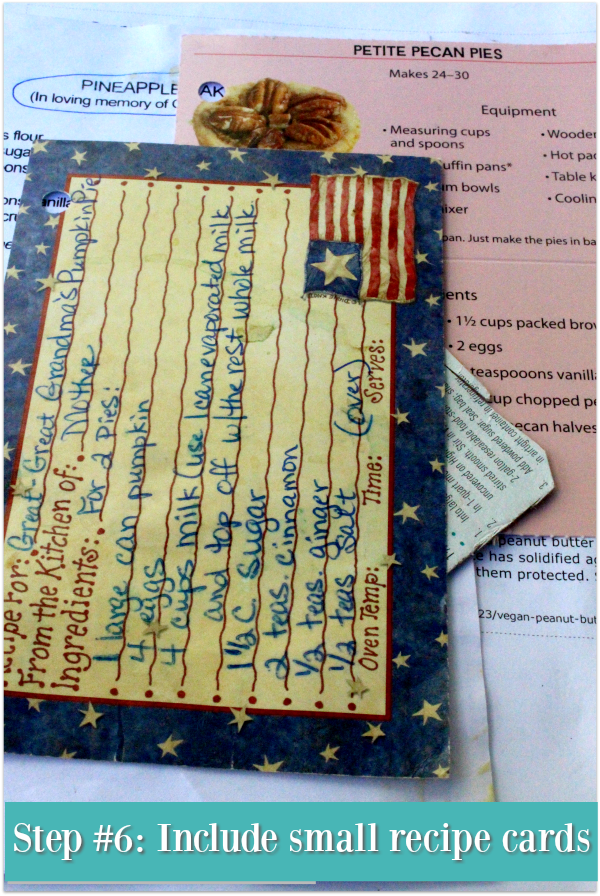
{One of my girls has been wanting to make those petite pecan pies together – sometimes we just need to set aside the urgent and do the most important. #PreachingToMyself}
Make sure you include hand-written recipes as well as recipes you’ve cut from magazines or food packages.
I just stacked mine so they’d be ready to go in the binder with everything else. You could tape your smaller recipe cards to an 8.5 x 11 piece of paper if you’d rather, so they can easily slide into sheet protectors.
7) Prepare the recipes for your binder.
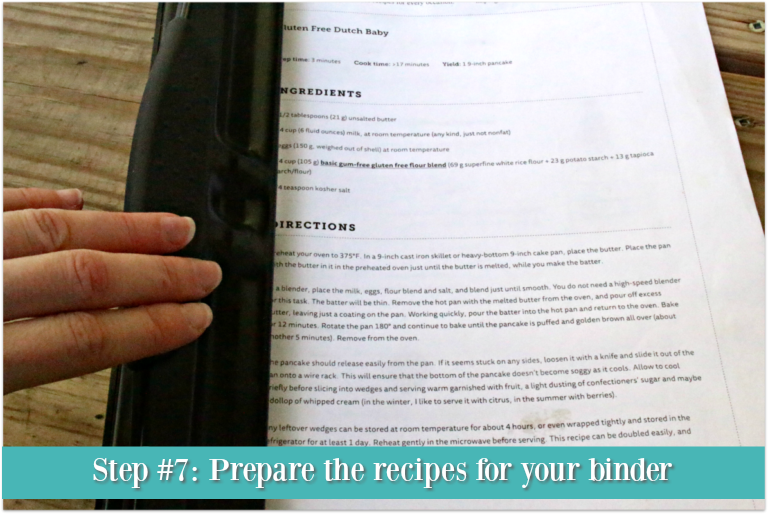
{One of my kids regularly makes these ridiculously easy Gluten Free Dutch Babies. Such a fun Saturday treat!}
Use a three-hole-puncher to punch holes directly on your recipe (what I did), or place your recipes into sheet protectors (the better option). Make sure to keep the recipes in their respective categories while you’re doing this!
8 ) Organize the recipes within each category.
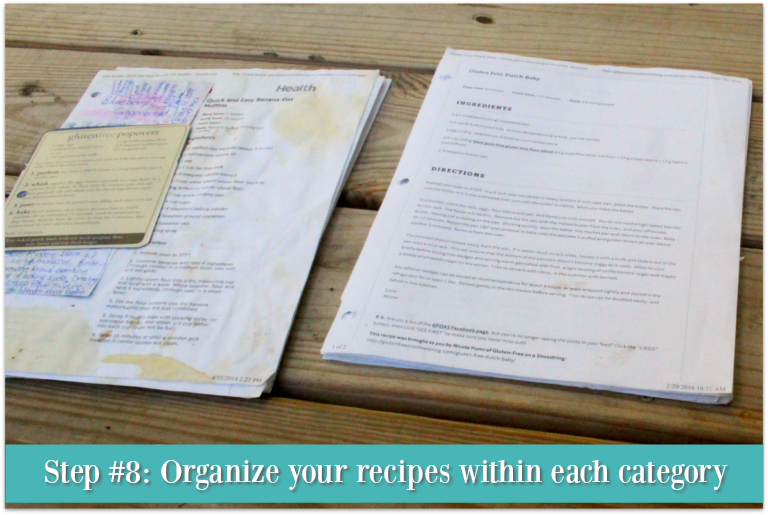
{These Quick & Easy Banana Oat Muffins take 5 minutes to prepare and are delicious. They also freeze well and can be thawed in the microwave.}
For my recipes, I decided that instead of alphabetizing everything, I’d just put recipes in order based on how often they’re used, so the recipes I turn to regularly are always right on top.
Alphabetizing would be fine too though, if that’s your preference!
9) Create your category labels.
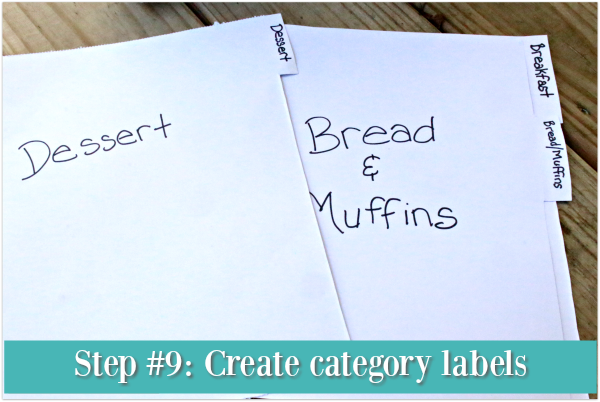
You can choose 1 of the following 3 ways to create your labels:
- Use tabbed pages to create labels for your recipe categories. Simply write your recipe category on the page in sharpie, then again on the tab.
- Make tabs by cutting squares out of heavy paper, then taping the squares to the edge of the main recipe category page in your binder.
- Cut 12 x 12 paper down to the size and shape you want.
10) Reassemble your recipe book.
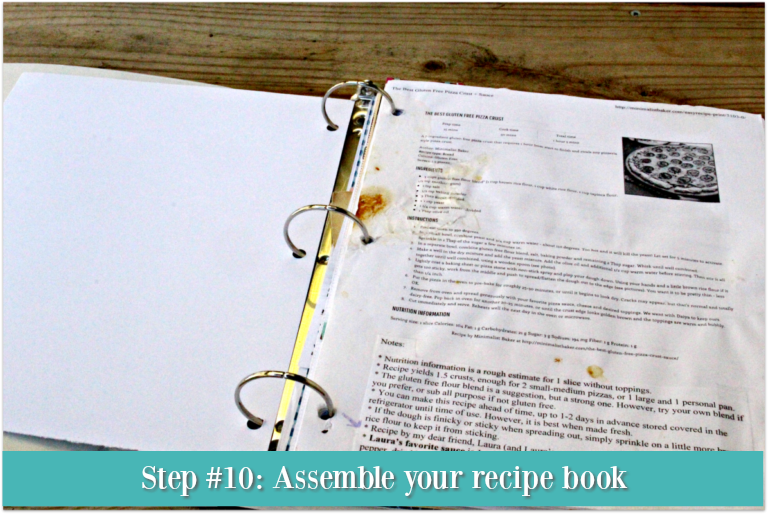
{The Best Gluten Free Pizza Crust + Sauce was the first successful GF pizza night at my house. In fact, my gluten-eating daughter said she’s pretty sure it’s the best pizza she’s ever had. Not best GF pizza. Just best pizza. If you’re gluten free, or if you love somebody who is, make this crust.}
This step should go really fast since the hard part is already finished! Simply put the pages in your binder. You can categorize your recipe categories alphabetically, or in the order you’d eat them throughout the day (breakfasts first, main dishes later, desserts after that, etc.).
The order of the categories is fairly unimportant, as you’ll quickly get used to whichever order you chose!
11) Put everything away.
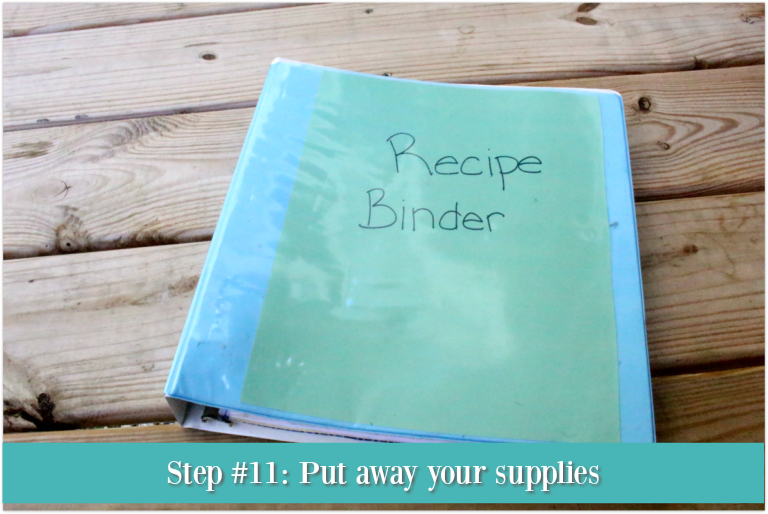
Throw away extra papers, put away any additional supplies you still have out, and place your binder with your recipe books. If you want to label your binder, this would be a good time to do so.
Bonus: Maintenance Plan
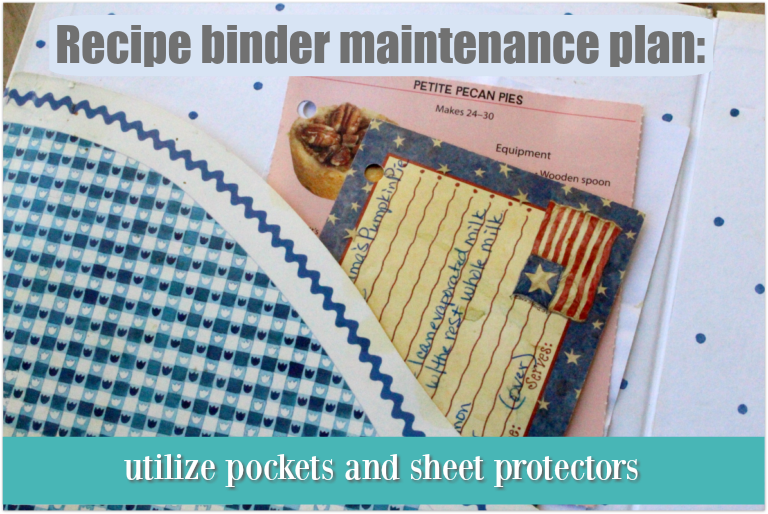
Here’s how I keep my recipes organized: When I print a new recipe, I just put it in the front pocket of my binder. As that pocket starts to get full, I grab my three-hole-puncher and quickly file the recipes into the correct tabs. This takes about 5 minutes every few months. Easy!
If you’re using sheet protectors, just keep extra sheets in the back of your binder so you can quickly slip in new recipes. Even easier!
Sometimes we over-complicate organization. We think we need a ton of hours, or a picture-perfect finished project, but usually we just need strong determination and a sturdy trash can.
And don’t stress if your methods aren’t very pretty. Whether you’re working with a recipe binder, a closet, a living room, or anything else, if you ever want to beautify your space, you’ve already done the hardest part by giving yourself a clean slate to work with.
Personal Thought/Application Question: Would this recipe organization system work well in your home? If not, what system do you prefer?
![]()
 Davonne Parks believes that your role at home is valuable and she wants to help you thrive in your environment. Click here to receive immediate access to the FREE printable library she created just for you.
How to Make Firm Jello the Kids Will Love
Want to know how to make firm Jello that all the kids love? Click here and we’ll tell you the secret!