Special Note: This article is part of an intentional home series by Davonne Parks. To view the rest of the articles in this series, go here.
![]()
Don’t you just love looking at beautiful photos of organized spaces? I know I do! In fact, sometimes I really wish the insides of my closets look as amazing as the pictures I see on Pinterest.
Maybe one day I’ll buy beautiful baskets, pretty contact paper, clear jars, and adorable labels. But I know I don’t need to spend a lot of money to have a clean and organized home. I also want to guard my heart against covetousness.
“And [Jesus] said to them, ‘Take care, and be on your guard against all covetousness, for one’s life does not consist in the abundance of his possessions.'” Luke 12:15, ESV
So for now, my organization isn’t beautiful, but it is purposeful and it serves my family well. Today I’m opening up my closets and sharing my non-Pinteresty photos with you in hopes that you’ll be able to think of ways you can frugally organize your own home.
Frugal Storage Solutions:
1) Zip-top bags
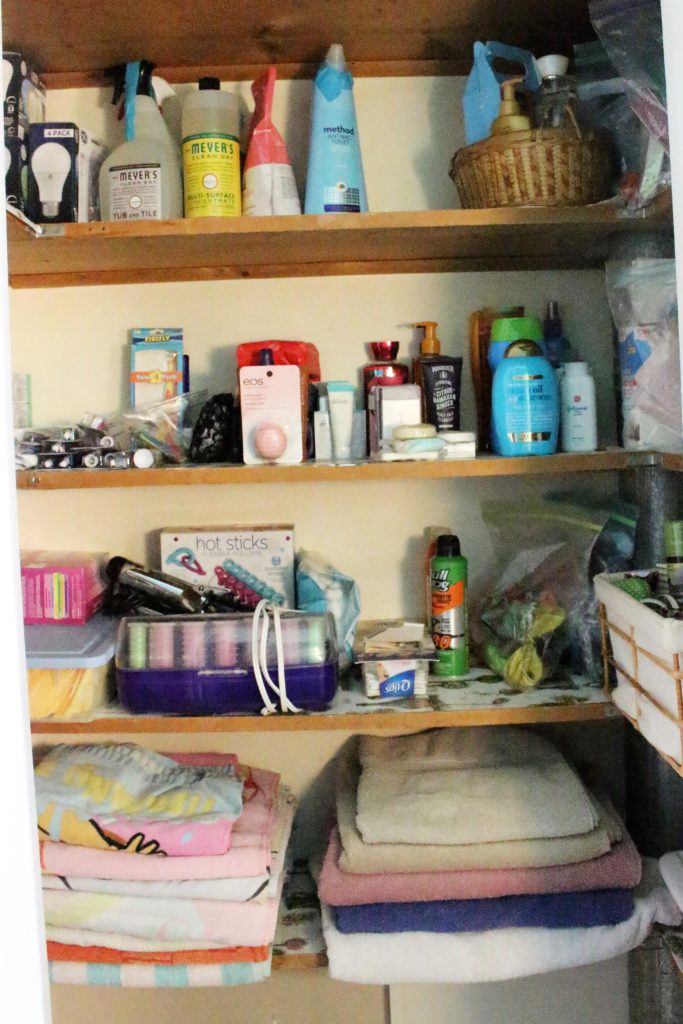
Zip-top bags are incredibly frugal compared to pretty boxes and bins! My family stores everything from art supplies and hair bows to cookie cutters and band aids in zip-top bags. Here’s a peek into my bathroom closet so you can see an example:
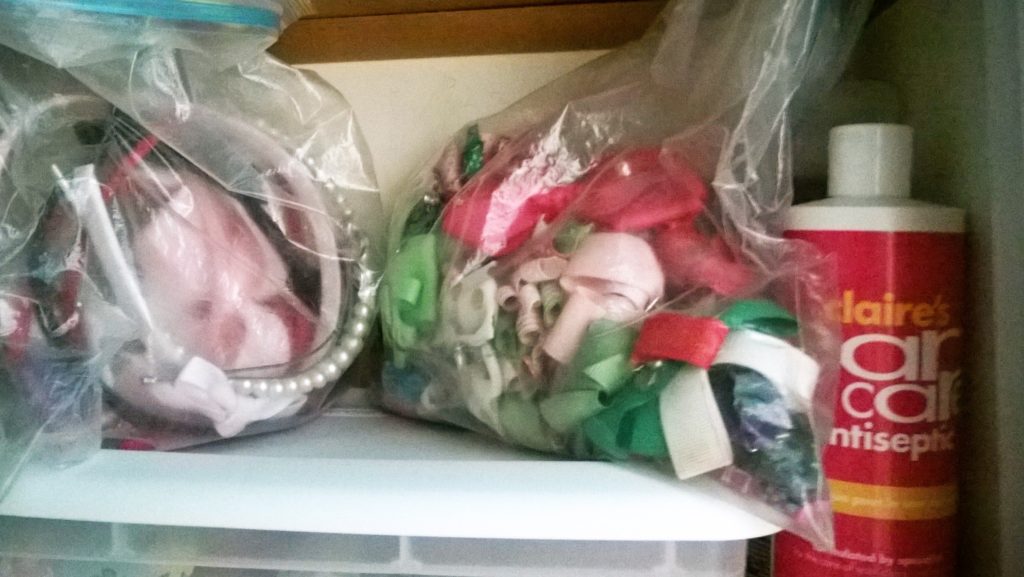
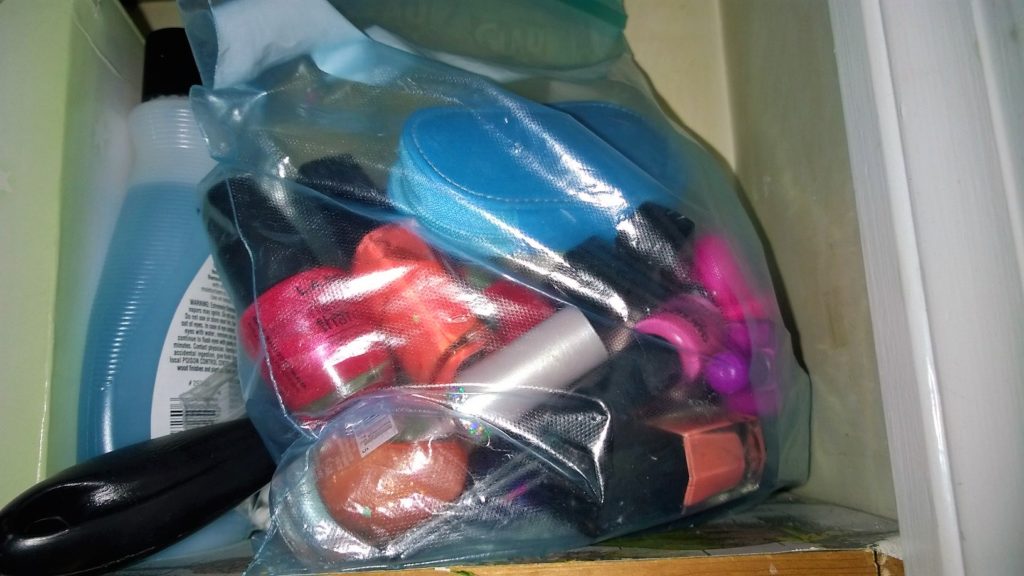
Those bags don’t look very pretty when we’re zoomed in on them, but when we take a step back and look at the closet as a whole, it’s not too bad!
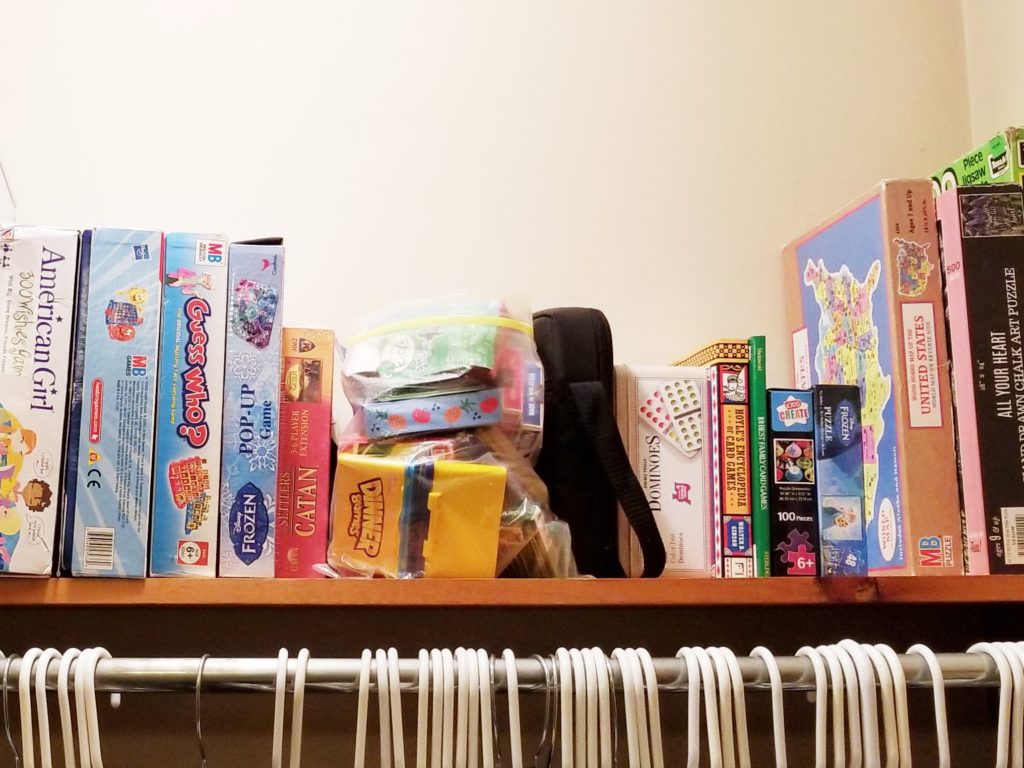
Here’s another example – decks of cards or small game pieces don’t get lost as easily when they’re stored together in one bag (there are several sandwich bags inside the gallon bag in this photo).
2) Cardboard boxes
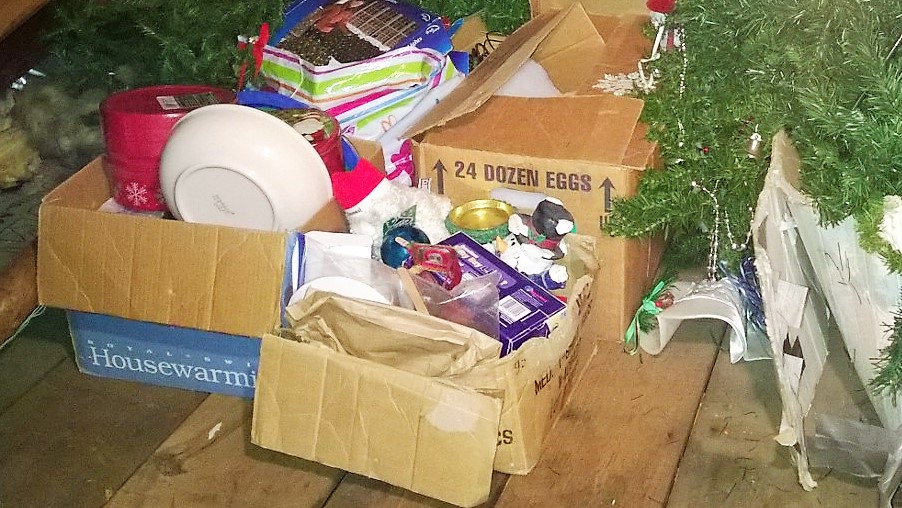
I also keep things organized with cardboard boxes! They definitely aren’t the prettiest storage containers, and if they’re used outside or in a cellar, it might be a problem. But in our home, the boxes are stored in a dry place so we haven’t had any problems with them thus far.
3) Gift Bags
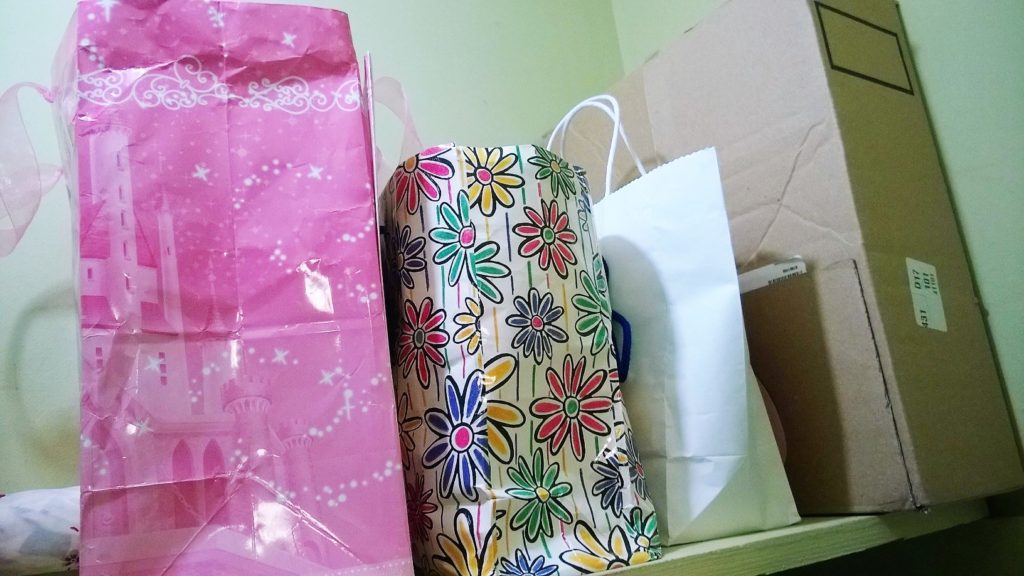
If you like to keep a gift stash on hand, you can place several gifts into one gift bag for easy storage.
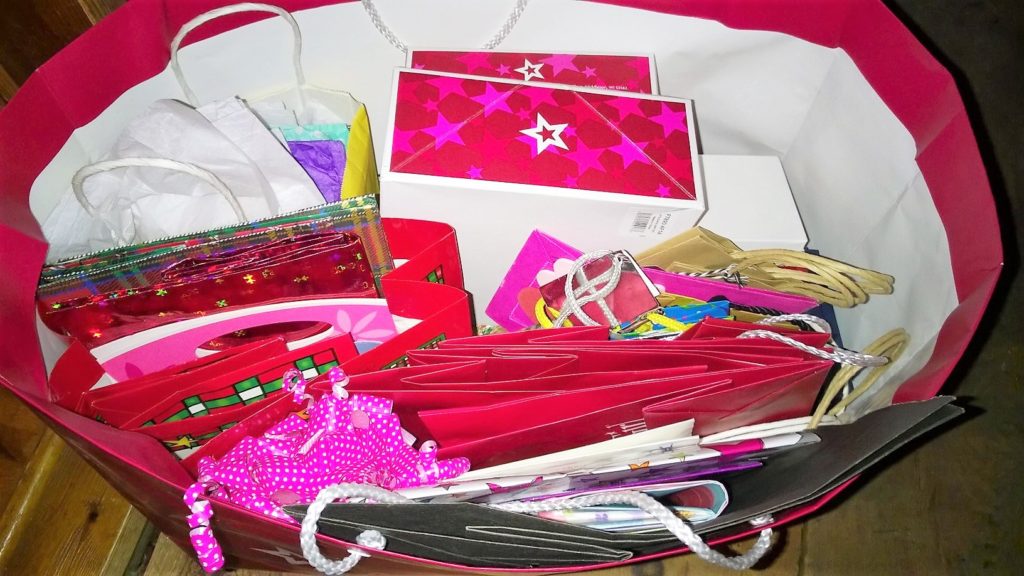
You can also keep gift wrap supplies inside one large gift bag.
4) Baskets, bins, and tins
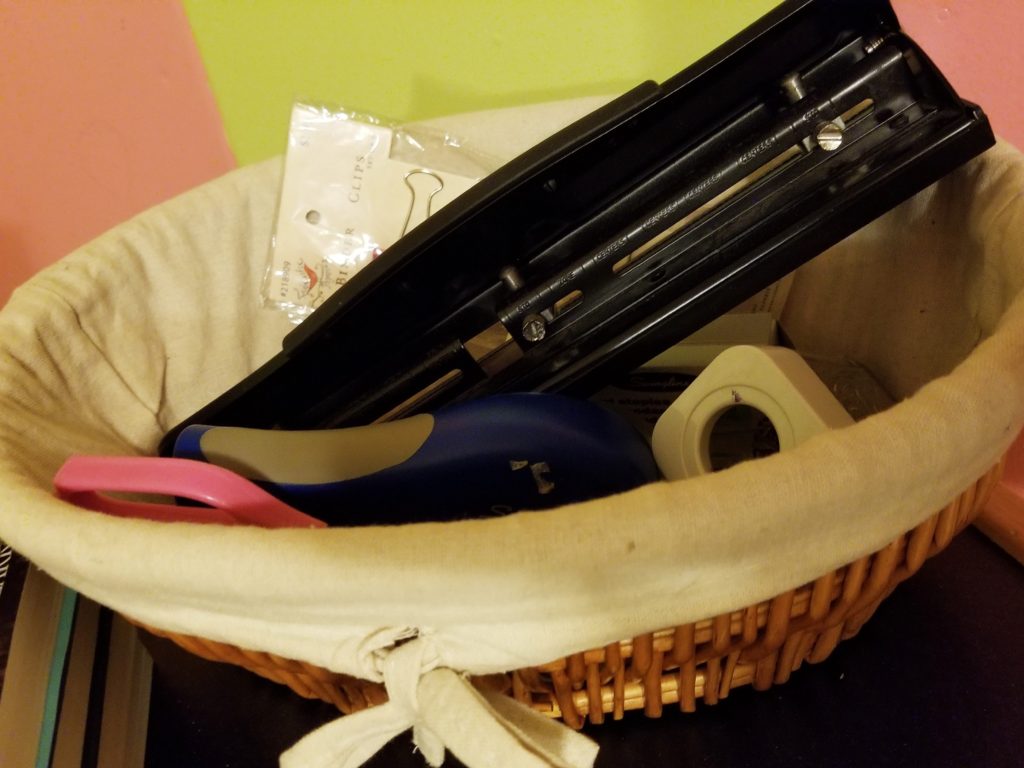
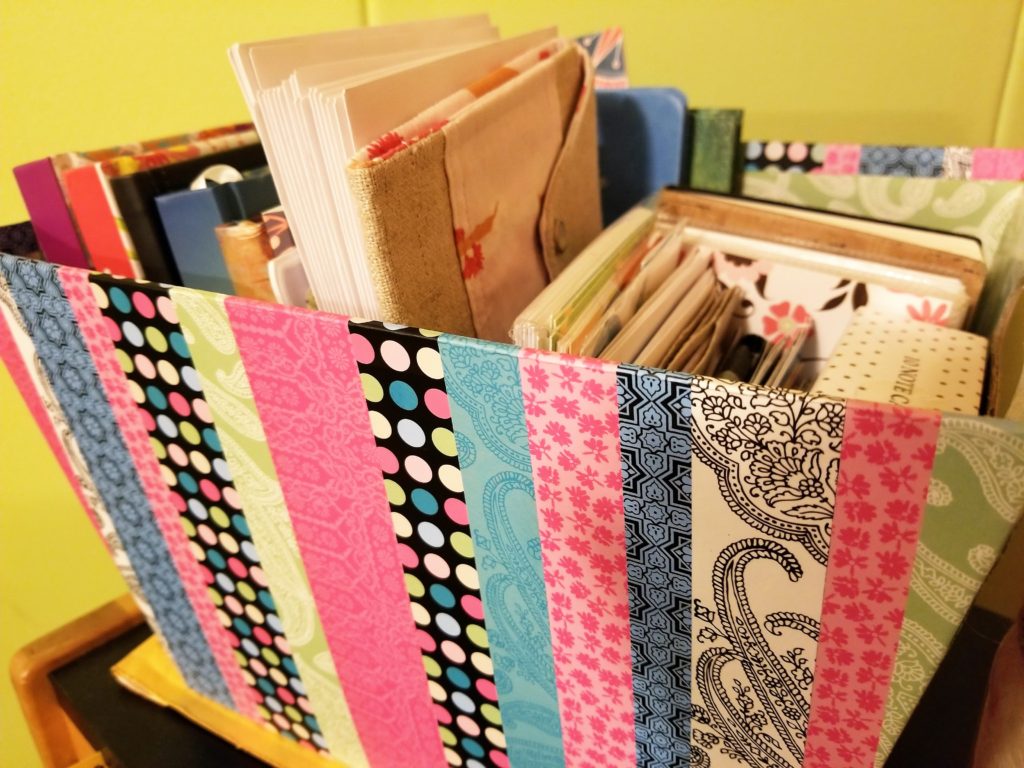
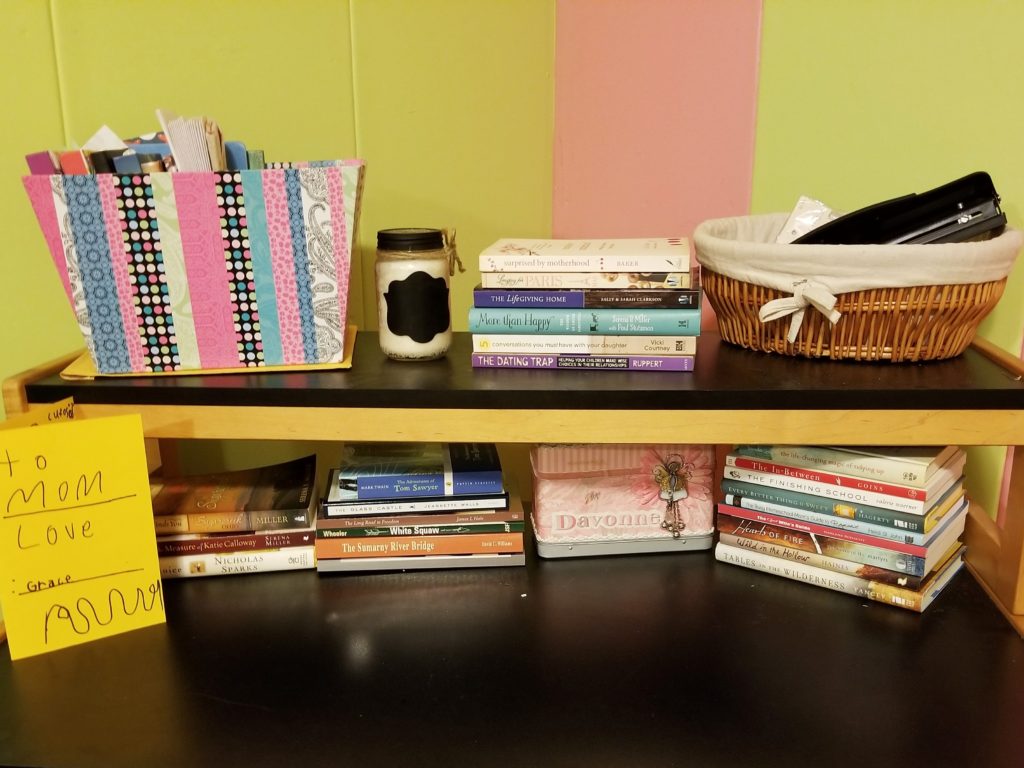
Look around the house for any unused baskets or bins – pay attention to Easter baskets, picnic baskets, popcorn tins, and any other kind of basket and bin you can find. If you can’t find any, swing by a thrift store or garage sale the next time you pass by – I’ve seen great secondhand baskets for as low as $1.00!
5) Plastic Containers
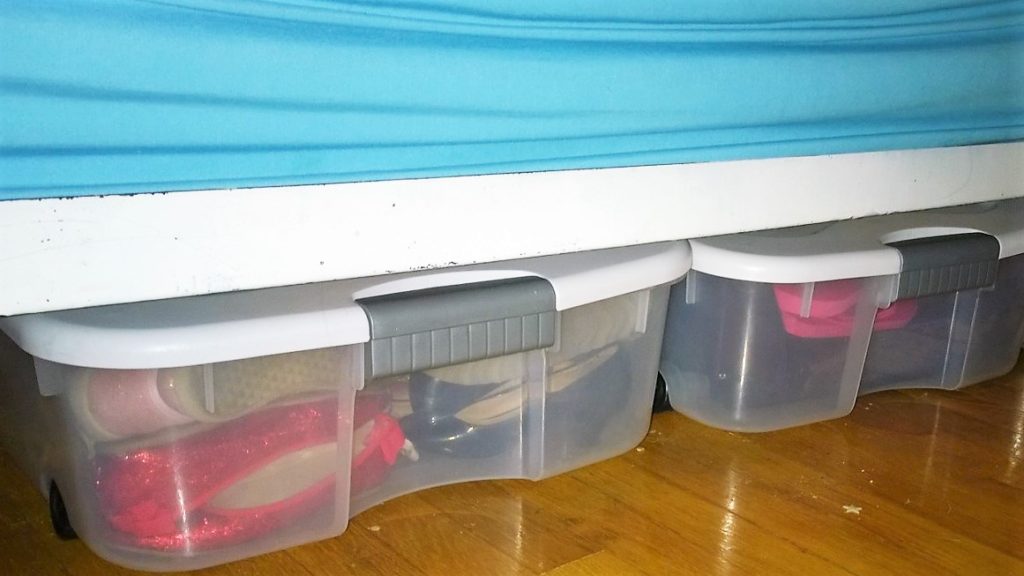
When it is time to upgrade to plastic containers, save money by keeping your eyes peeled for coupons and sales. It’s also very helpful to pare down before buying any type of storage container, because sometimes the problem isn’t about a lack of storage – sometimes the problem is about having too much stuff.
“Do not lay up for yourselves treasures on earth, where moth and rust destroy and where thieves break in and steal, but lay up for yourselves treasures in heaven, where neither moth nor rust destroys and where thieves do not break in and steal. For where your treasure is, there your heart will be also.” Matthew 6:19-21, ESV
In Closing:
Whether you have old cardboard boxes or beautiful bins, challenge yourself to use storage containers to help set limits – once a container is full, it’s full, so if anything else is brought in, then something has to go.
If you ever choose to upgrade to beautiful storage systems, having things already organized will make it much easier to do so.
Personal Thought/Application Question: Do you struggle with coveting your neighbor’s beautiful storage systems? If so, memorize Luke 12:15 or Matthew 6:21 and repeat the verse in your mind when you can feel yourself beginning to wish you have something that belongs to someone else.
“I have stored up your word in my heart, that I might not sin against you.” Psalm 119:11, ESV
You May Also Like:
- How I decluttered my entire house in just six days
- 20 minutes or less to “Company Clean”
- How busy people keep clean {enough} homes
![]()
 Davonne Parks believes that your role at home is valuable and she wants to help you thrive in your environment. Click here to receive immediate access to the FREE printable library she created just for you.

